1. Before you start
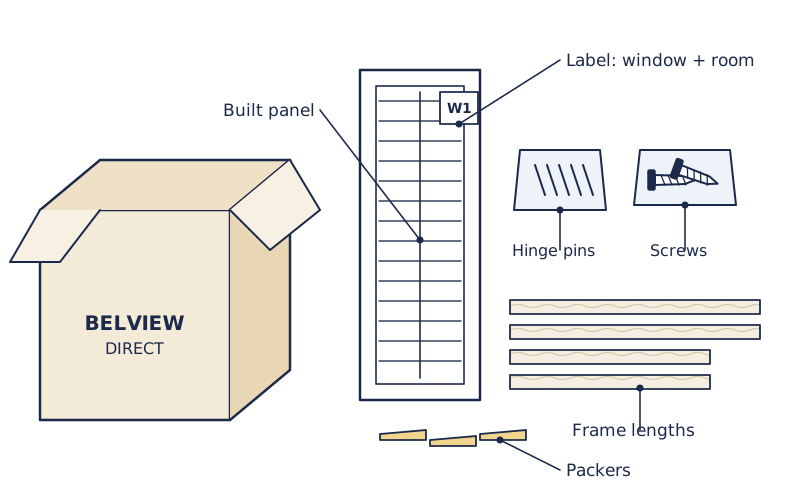
Check the panels and parts against the packing list. Match the labels to each window. Report any damage within 48 hours with photos.
Panels arrive built. Frames come in pieces for you to fit.
Check the panels and parts against the packing list. Match the labels to each window. Report any damage within 48 hours with photos.
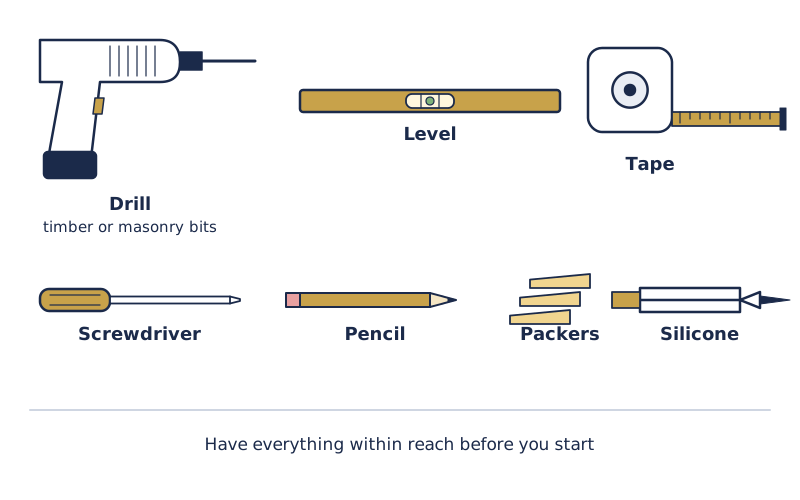
Drill, bits suited to timber or masonry, level, tape, screwdriver, pencil, packers, silicone.
Push the plastic corner keys into the frame ends and press the corners together until they lock. Fit any T-posts.
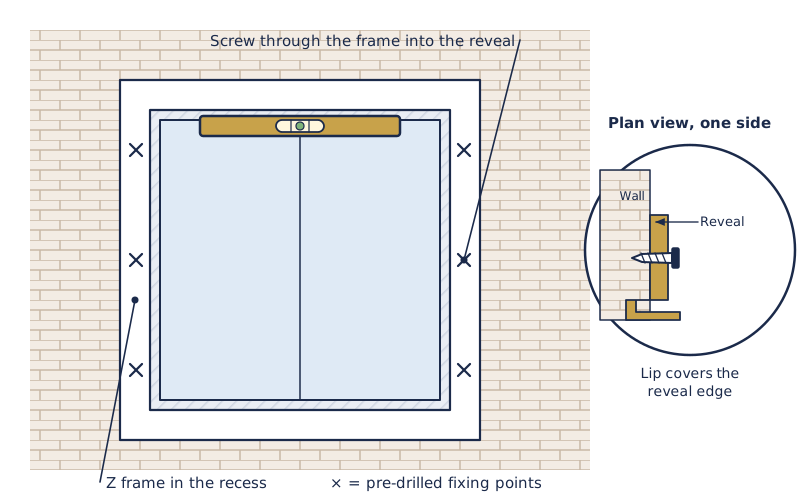
Mark the frame position on the wall or architrave. Level it, then fix it.
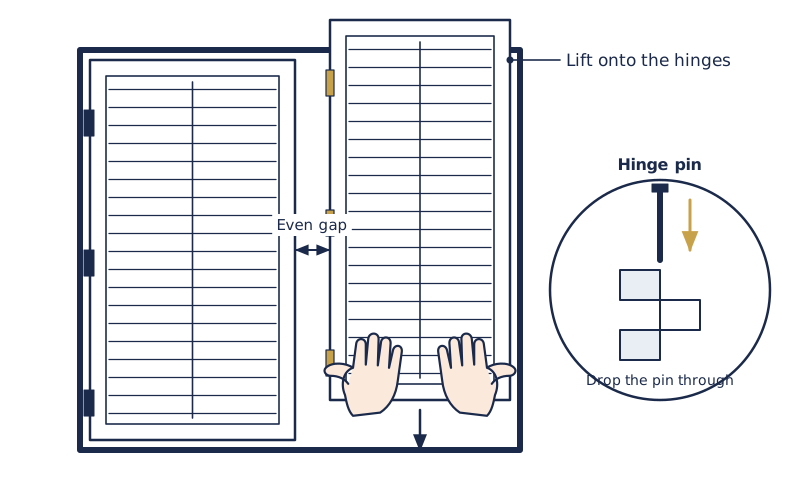
Drop the hinge pins in. Adjust them so the gaps are even. Check the panels close flush.
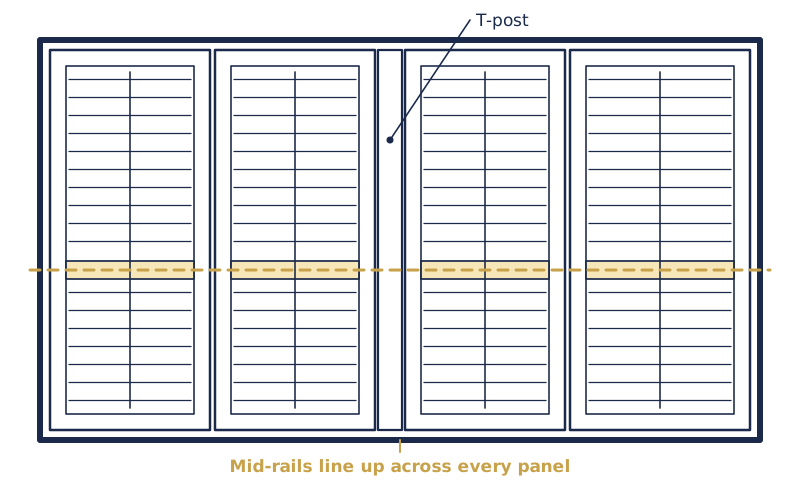
Fit the T-posts and line up the mid-rails across the panels.
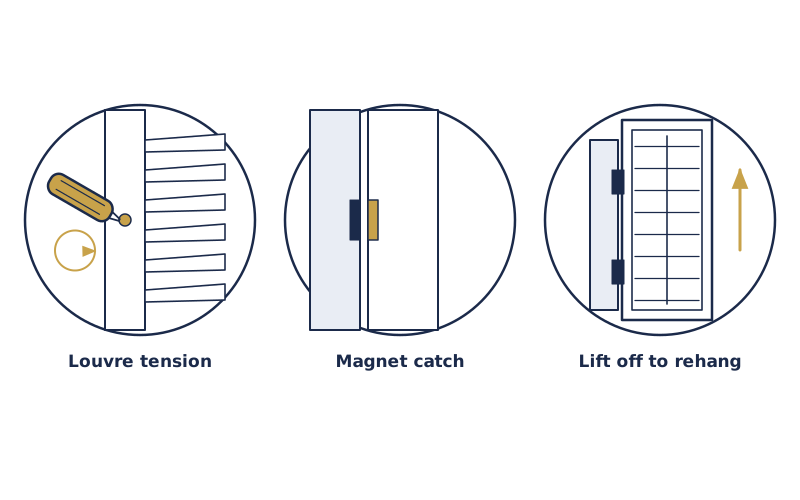
Check louvre tension. Fit magnets and catches. Rehang a panel if the gaps are uneven.
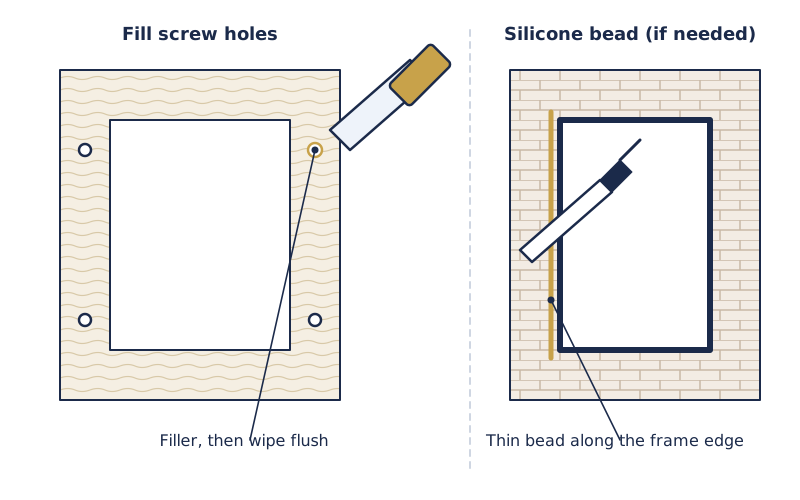
Fill the screw holes. Run a silicone bead if needed. Clean the louvres.
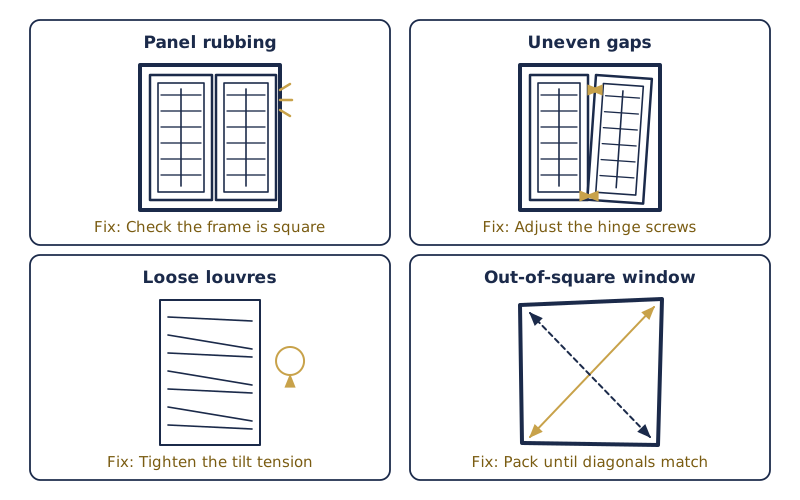
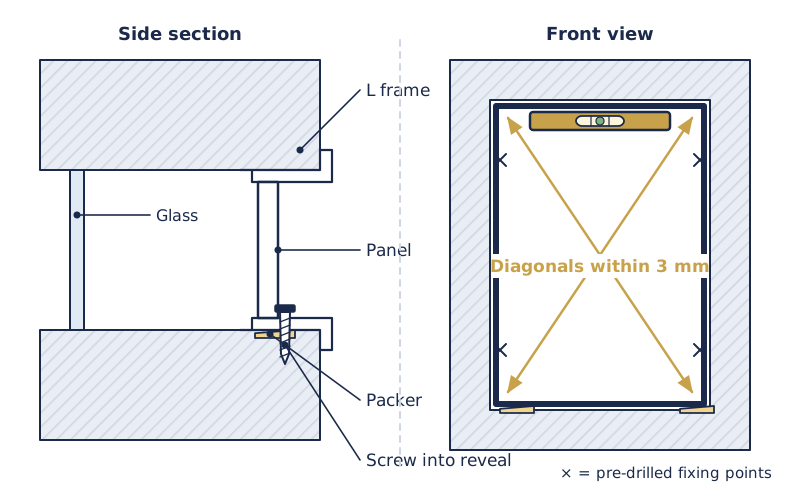
Panel rubbing: check the frame is square. Uneven gaps: adjust the hinge screws. Loose louvres: tighten the tilt tension. Out-of-square window: pack the frame until diagonals match.
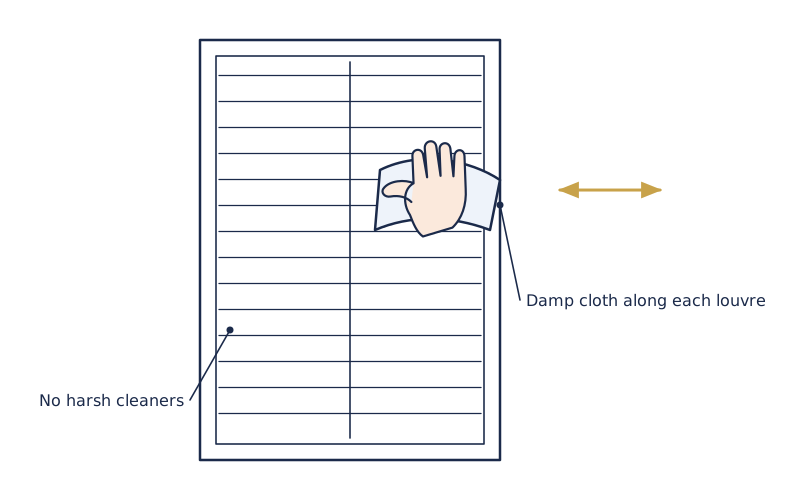
Clean with a damp cloth. Maximum panel width is 850 mm. Drops over 3000 mm are custom with no warranty. Contact hello@belview.au or 02 9069 1823.